Wednesday, 14 September 2011

STAGE ONE

After establishing the specifications that I need to follow for this project, I started on my A1 sheet.

First of all, I wrote "Gathering" on the top left corner and then drew the 5 partners as cartoons.


After that, I decided to draw a site map with nearby buildings, roads and parks to show where I wanted my building to be situated.


Now was the time to figure out inspirational ideas and where to get them from when designing the building:


Including past projects, team members' professions...


...the context...


... and my given building - Carpenter Centre

More photos of the Carpenter Centre (Le Corbusier):


Wednesday, 24 August 2011

ANIMATION WORKSHOP-Early Decisions

He have been given a few tasks to complete by tomorrow for our mid semester crit.

>We have had to choose a team of 4 other people to collaborate with ourselves into a startup business.
>We have to choose our site, preferably related to our 1:100 model location
>We have to try to get inspiration and ideas from elements such as the team members' professions, context, and past projects

I have decided on a team of 5 people including:
1. Myself
2. An Accountant
3. A Chef
4. A Photographer
5. An Engineer

My site is on the carpark situated on the intersection of Beach Road and Mahuhu Crescent.
This location is close to a park, pharmacy, apartments and many car related businesses. The building adjacent to this site is of apartments and hotel accomodation.


Some qualities and themes from my past projects that I wish to include are warmth, comfort, intimacy and spirituality.

I have currently decided on a 2-storey building with the chef and photographer occupying the bottom level and the Accountant, Engineer and Architect occupying the 1st floor. This is because the chef will be running his/her cafe, therefore access to customers must be easy. Similarly, the photographer will have a studio open to public. The accountant, engineer and myself do not regularly need contact with the public, therefore we are in the 1st floor.

The chef keeps the team together by feeding them and by acting as their public face.

Wednesday, 17 August 2011

Matrix


Model Making Process

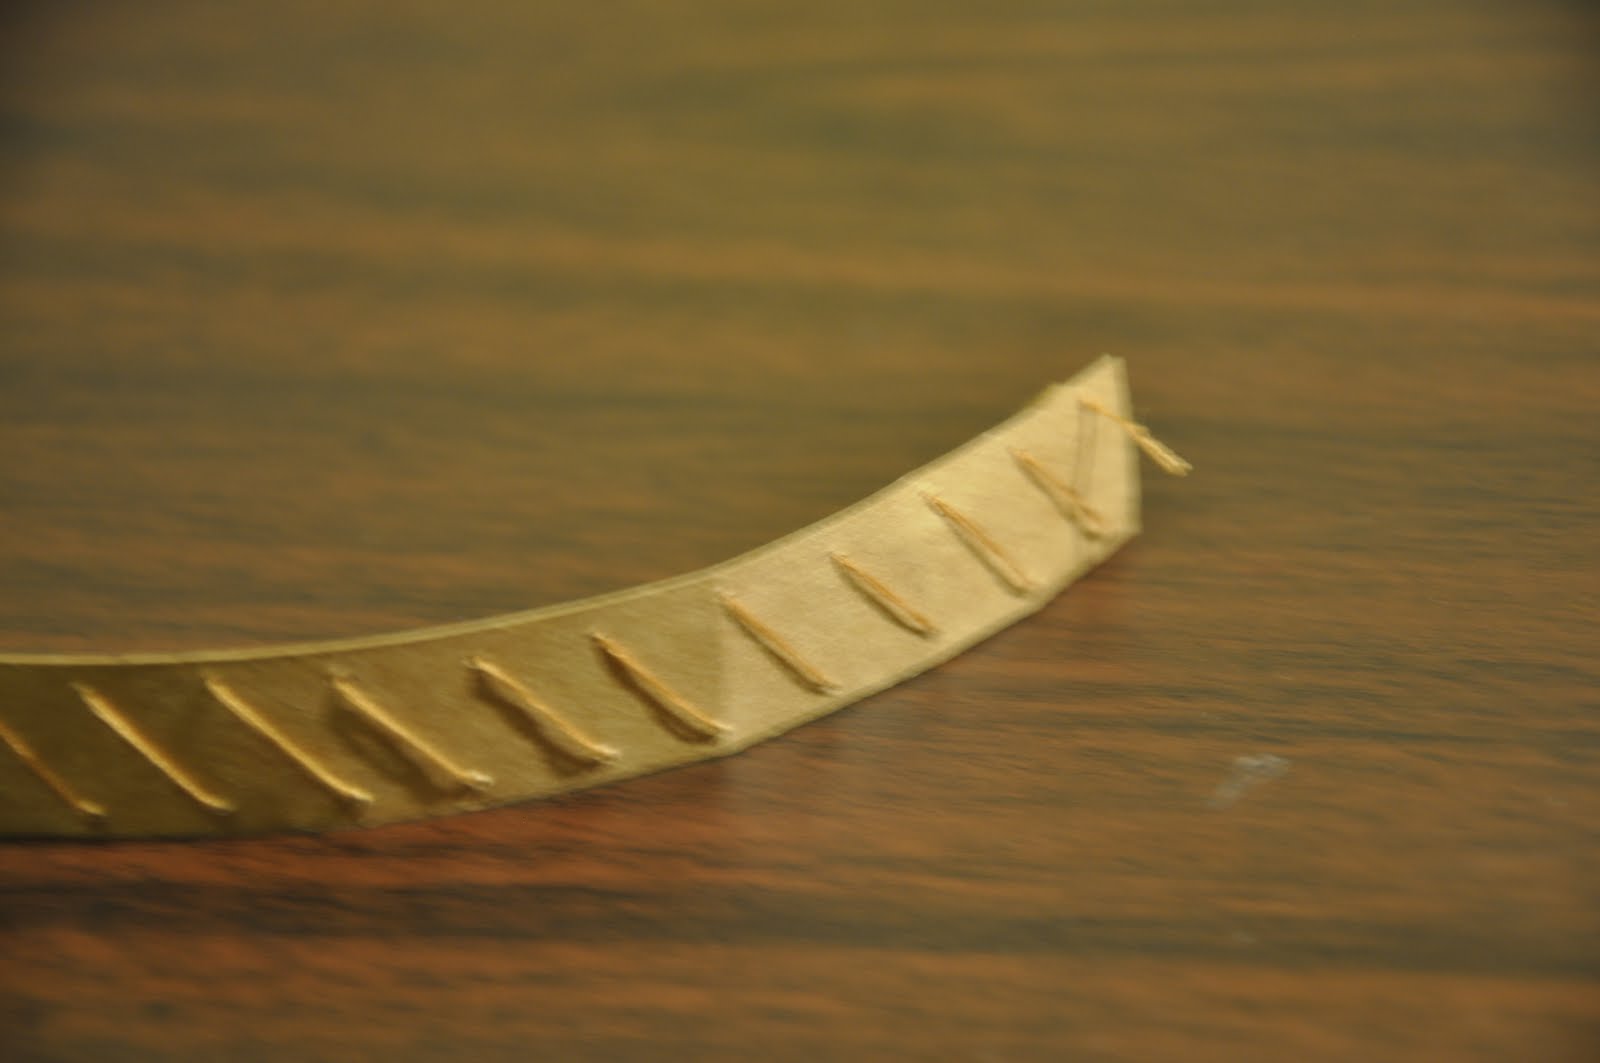
After showing my laser cut facades and circular structural elements, they recommended a way to further develop the model using thread and sewing it through the laser cut areas on the facade so reinforce the image for viewers and also to relate the delicacy of the thread to the intimacy of the act of palm reading. 

The front of the facade with threads:


The back of the facade with threads:


Then I thought about how the light coming through the cuts on the facade would still be too direct. So, in order to diffuse and soften the light, I decided to put a layer of tissue gift wrapping paper (also recommended by tutors earlier). The surface was slightly shiny, adding to the aesthetic of my model. 


After finalising the facade, I still had to figure out the structure of the stall. The tutors advised me to use the thread that i weaved into the facade to somehow connect the structural elements to the stall but i was unsure about how to proceed with that. They also suggested just using the circular elements which would be enough, rather than laser cutting the poles again. This makes the stall more delicate and less rigid, corresponding with the art pf palmistry which is also very delicate.

I thought about having the structural elements attached (temporarily) to another material which was then able to be stuck onto the facade. Another reason for this was that I was slightly worried about spoiling the facade by gluing the structural element directly onto it.

Therefore I decided on making holes through another piece of card which could hold the structural elements when needed with the use of loops made with the thread: This way the structural elements could be slipped in or out of the holes as needed. If they were taken out, the entire facade would be flat and able to be dismantled easily.


Close ups of the structural element attached to the card with loops of thread:


The next step was to glue the cardboard pieces to the facade. I glued the fittings towards the left of each facade to allow for space for the entrance and exit gaps:


Finished!


Structural factors

I was extremely stuck on how to stand the stall up when my tutors (as always) suggested an awesome idea of using poles on the inside an circular parts to hold the poles together, all to make the structure strong and able to stand properly. As you can see, I have included these factors into my illustrator files for laser cutting below.

They also suggested using a soft tissue-like fabric to put on the interior so that it is softened and more comfortable for customers - stability and comfort are necessary for my palm reading stall.

Adobe Illustrator

I made an illustrator document for laser cutting and had 3 artboards:

1. The cone shaped exterior structure with vertical lines and close up & abstract photos of my hand cut out.
2. The vertical poles for the structure of the stall on the inside.
3. The circles which hold the structure and the vertical poles together.

All 3 artboards:


The cone shaped exterior structure:


Vertical poles for the structure: 
 

Circular structural elements: